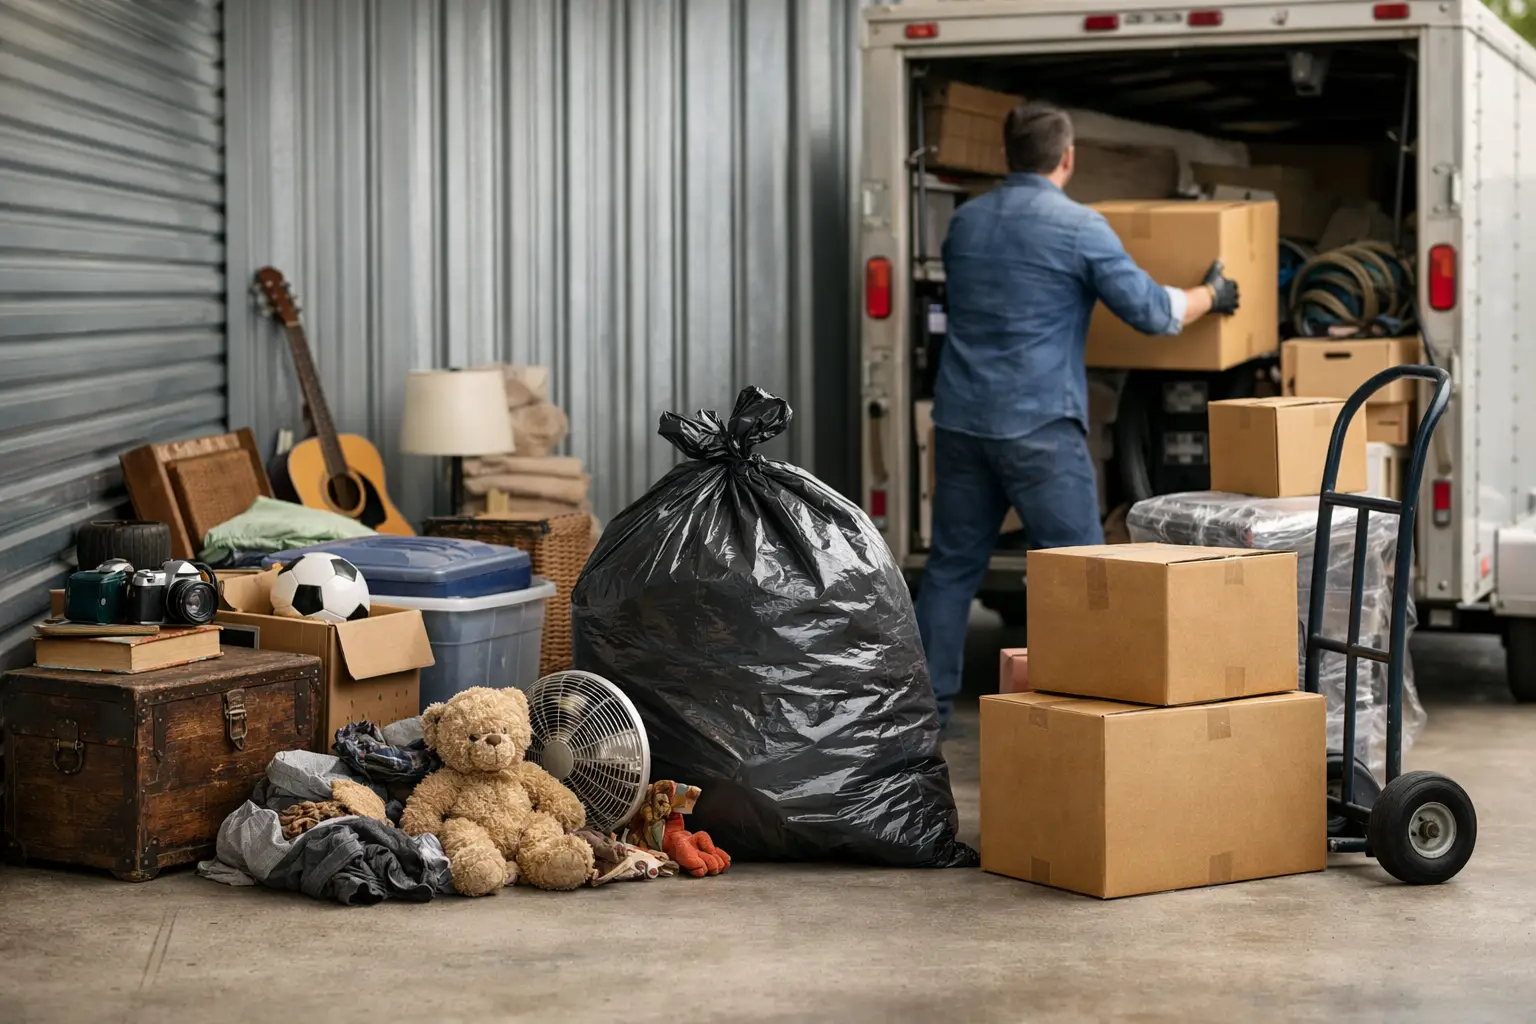
A storage unit cleanout can get expensive fast when monthly rent keeps adding up for belongings you no longer use, recognize, or even want. Whether you are clearing out a unit after a move, handling a family member’s property, or getting a rental ready for turnover, the goal is simple: sort what matters, remove what does not, and leave the unit empty on time.
The hard part is rarely opening the door. It is dealing with heavy furniture, mystery boxes, old appliances, broken items, and a deadline that is closer than it looks. A clear plan keeps the job from turning into an all-day guessing game.
Start Your Storage Unit Cleanout With a Deadline
Before moving a single box, check the unit’s move-out rules. Ask the storage facility when the unit must be empty, whether you need to sweep it out, and how to return the lock or gate code. Some facilities charge another full month if you miss the billing date by even a day.
Take a few photos when you first open the unit. This gives you a record of the condition of the space and helps if you are coordinating with a family member, landlord, property manager, or estate representative who cannot be there. It also lets you see the job honestly before you start. A unit that looks manageable from the doorway may be packed floor to ceiling behind the first row.
Bring basic supplies: work gloves, closed-toe shoes, a flashlight, trash bags, a utility knife, markers, and a few empty boxes. If there is dust, animal droppings, mold, sharp debris, or unstable stacks, slow down. Safety comes before speed.
Use Four Clear Sorting Zones
The fastest way to lose time is to pick up every item and debate it for ten minutes. Give each item a destination as soon as you touch it: keep, donate, sell, or remove.
The keep pile should be small and intentional. Keep legal documents, family photos, valuable tools, jewelry, heirlooms, and items you have a real place and use for at home. If you are keeping furniture or large appliances, make sure they are worth moving and will actually fit where they are going.
Donation can make sense for clean, working items in usable condition. Good examples include basic furniture, household goods, clothing, books, and working small appliances. Do not spend hours trying to donate items that are damaged, stained, incomplete, or obsolete. Many donation centers cannot accept them, and leaving unwanted items outside a drop-off location creates another disposal problem.
Selling is best reserved for items with clear value and an easy path to a buyer. Think quality tools, collectible items, newer electronics, or furniture in excellent condition. Put a time limit on it. If you cannot list it, sell it, and get it picked up before your storage deadline, it should not hold up the cleanout.
Everything else belongs in the removal pile. Broken furniture, worn mattresses, old carpeting, damaged boxes, outdated electronics, scrap material, and unneeded bulk items cost money to store and take energy to move twice.
Look for Important Items Before Anything Gets Hauled
Storage units often contain more than clutter. Check every box, file cabinet, drawer, jacket pocket, and bag before it goes into the removal pile. Important papers are frequently mixed in with old mail, magazines, and office supplies.
Set aside passports, birth certificates, tax records, vehicle titles, property paperwork, military records, and insurance documents. If you find financial statements, medical records, or anything with personal information, do not throw it loose into a trash bag. Shredding may be the right choice for sensitive paperwork that no longer needs to be saved.
Be especially careful with family cleanouts. A box that looks like old decorations may hold photographs, handwritten letters, or items another relative wants. If several people are involved, send photos of questionable items and establish a response deadline. Waiting indefinitely for decisions can keep a unit rented for months.
Know What Needs Special Disposal
Not every item can go into a standard trash bin or be left at the curb. Storage units commonly hold items that need a different disposal route, including electronics, televisions, monitors, refrigerators, air conditioners, paint, chemicals, batteries, and fluorescent bulbs.
E-waste should be handled responsibly because it may contain materials that do not belong in regular landfill trash. Appliances can also be difficult due to weight, size, and refrigerants. Paint, fuel, pesticides, and unknown chemicals should never be mixed with general junk. If a container is leaking, damaged, or unlabeled, keep it separate and tell the removal crew or disposal facility what you found.
This is where a full-service hauling company can save a lot of time. Instead of loading questionable items into a pickup and hoping a landfill accepts them, you can get help sorting the load and directing materials to the proper disposal option when available.
Decide Whether DIY Is Actually Worth It
A small unit with a few boxes and a chair may be easy to handle yourself. If you have a truck, enough help, and a local disposal option that accepts everything you are removing, DIY can be a reasonable choice.
A larger storage unit is different. Heavy couches, mattresses, appliances, packed shelving, and construction debris can require multiple trips. Add dump fees, fuel, trailer rental, labor, and lost weekend time, and the cheaper option is not always as cheap as it first appears.
Professional hauling is often the better call when the unit is packed, the contents are heavy, the deadline is urgent, or you are handling an estate, eviction, foreclosure, or tenant abandonment. It is also helpful when you live out of town and need a crew that can do the lifting, loading, and final sweep-out without making you coordinate multiple trips.
For Bakersfield-area customers, Rojas Junk Removal can handle the labor-heavy part of a storage unit cleanout, from bulky furniture and appliances to boxes, debris, and e-waste. Upfront pricing matters here. A clear quote should explain what is included so there are no surprises after the unit is emptied.
Make Loading Faster and Safer
If you are doing any part of the loading yourself, clear a path from the back of the unit to the door. Start with loose trash, broken items, and boxes you have already sorted. Then move to large furniture and appliances. Do not climb over unstable piles or pull heavy items from the bottom of a stack.
Use a dolly for appliances, filing cabinets, and furniture whenever possible. Lift with your legs, keep loads close to your body, and get help with anything awkward or oversized. Storage hallways can be narrow, and one rushed turn can damage a wall, vehicle, or your back.
Load vehicles with weight balanced and secured. Loose items can shift during transport, while overloading a pickup or trailer creates a real safety risk. If the load requires several trips, calculate whether the extra work will push you past your move-out deadline.
Finish the Unit the Right Way
Once the contents are out, do a final walkthrough. Check the back corners, overhead space, shelving, and behind any door frame. Small boxes, locks, documents, and personal items are easy to miss.
Sweep the floor and remove any loose debris. Take final photos of the empty unit, then confirm the move-out with the facility. Keep any receipt, email confirmation, or written record until you know the account is closed and no additional charges are pending.
A storage unit should not become a long-term holding place for decisions you do not want to make. Set the deadline, sort with purpose, get the heavy work handled safely, and give yourself back the monthly payment and the peace of mind that come with an empty unit.